Your shopping bag is empty!

If you enjoy coffee with milk, you must have met latte art by chance. Many enjoy the topping design as much as our drink. Considering it as a kind of design art, a lot of baristas are interested in acquiring the skill. However, mastering latte art is a great challenge. Beside of practices and patience, here are some ideas for you to break the ground. For experienced baristas, the tips can be treated as a key to improve the technique as well.
1. Make silky and smooth milk
Steaming milk is obtainable if you follow the following three guides:
a. Wand in the middle and lean
We need smooth milk to make latte art. The position of the wand determines the whirlpool in the milk, hence the smoothness of the milk. A huge whirlpool will suck all air bubbles and make the milk smooth. The method is position your wand in the middle of the pitcher and lean the pitcher just a little so that the wand is third of the way of the side of the pitcher.

b. Amount of air in the milk
Make sure you are aware of the ideal amount of air in the milk. There should be sucking sound when the wand is on. If there isn’t, lower the pitcher just a bit until you hear it. You need distinct amount of air while making different coffee. Normally cappuccino milk has more foam while latte milk has just a bit of foam.
c. Temperature of the steamed milk
Perfect temperature for steamed milk is between 55 and 62 degrees Celsius. You should not go over 70 degrees and have boiled milk. The heat starts to change and denaturise the proteins in the milk, which will cause lack in texture and in flavour and in sweetness too. It is also almost impossible to have microfoam. Thus, time control is critical for steaming milk.
2. Coffee base also matters!
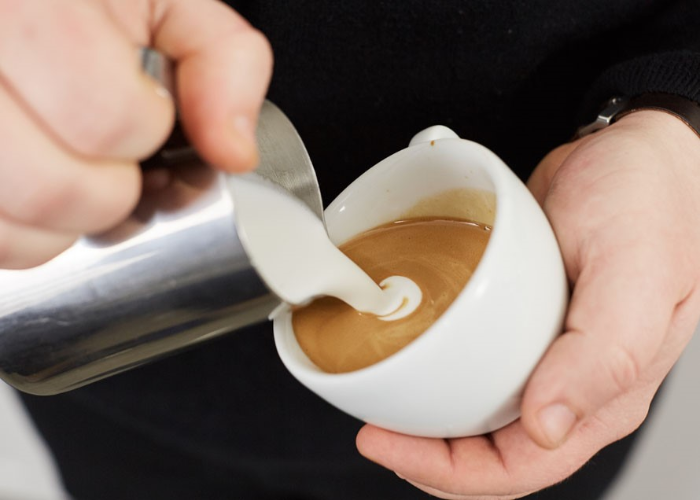
Some might think that coffee base only affect the taste of the coffee. Yet, we need the dark brown mixture to create the contrast with the milk. Treat the coffee base as you canvas of latte art. Pour the milk gently from 5cm to 0.5 cm from the surface. Start from the middle of the cup and then spirally move around the cup until 40-70% full depending on what kind of pattern. Start earlier if you want to make big patterns.
3. Lean your cup
Get really close, around 0.5cm to the surface to make the art. Don’t keep your cup straight because it is too far and harder to control. Leaning your cup create a better angle to get closer to the surface, which allows you to pour slowly. Also, find the most comfortable way to hold the cup for yourself.

4. Take videos while training
By watching the videos of yourself, you can notice some mistake you didn’t realize at the moment. Filming you and your friends’ latte art process and exchange feedback to improve yourself.
5. Practice with perseverance
Success doesn’t come overnight. Mastering latte art might take a long time but your effort will reward you with unlimited amazing latte art. Find and experience the variety and flexibility of latte art while developing the skill as it might be your motivation.